The Airpod Pro is one of the best devices you can get for your iPhone. Its ability to light up both blue and red makes it the perfect accessory. One question that arises though is how long does it take for the Pro to charge. In this article we will cover how much battery life you can expect from the device, as well as how to get the most out of your charging time.
Quick-charge option
The new AirPods Pro can be charged up to three hours in less than fifteen minutes. This is a feature designed to help those who find themselves running out of battery. However, there are a few things you should know about charging the AirPods.
First, the AirPods are powered by a Lithium-ion battery. Over time, the capacity of the battery will decrease. To ensure that your earbuds last as long as possible, avoid charging your AirPods too much.
It’s also important to watch out for poor electrical connections. You don’t want to drop your earbuds, and you definitely don’t want to overcharge. If you’re unsure of your charging connection, don’t try to charge your AirPods without the case.
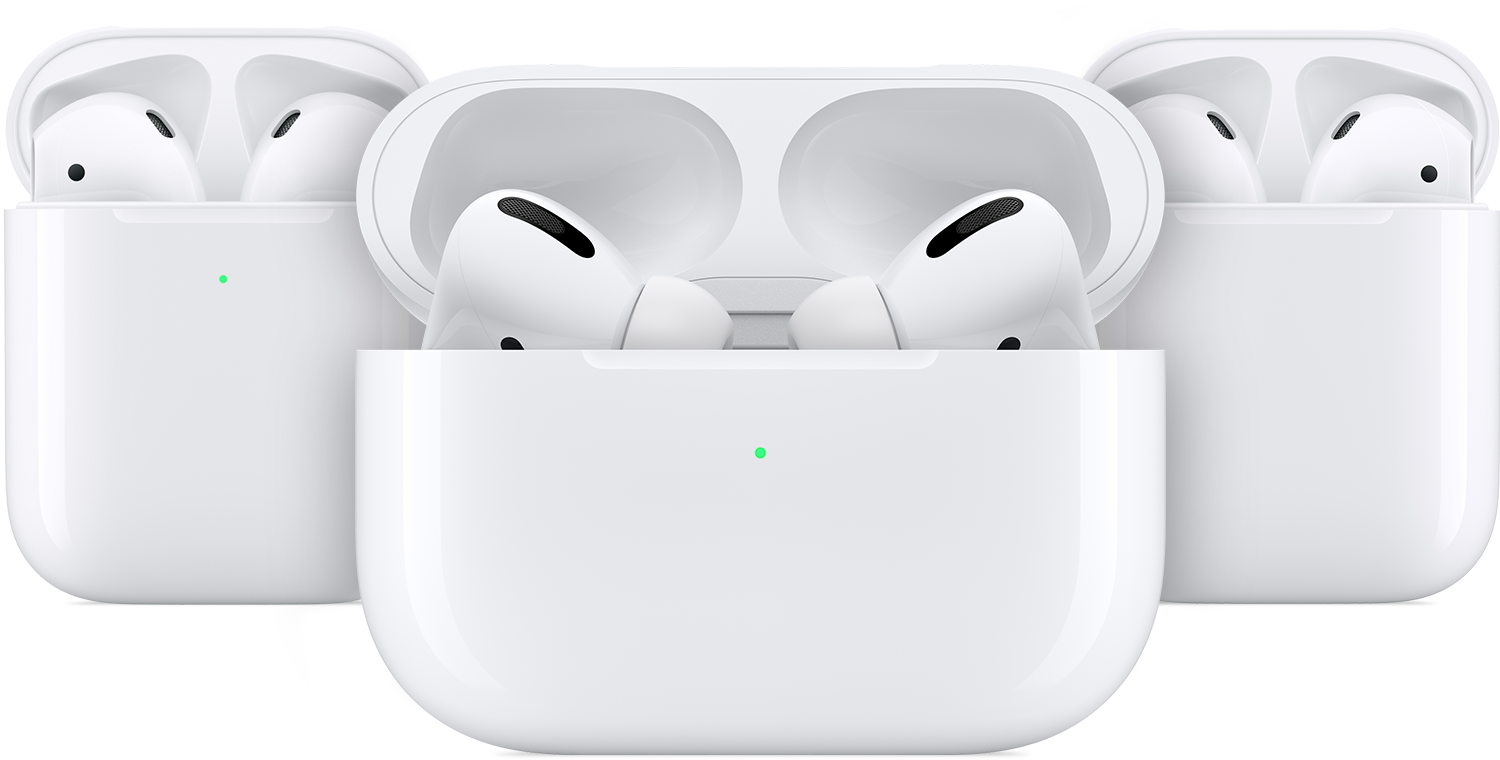
To check your charging status, open your case and look for the LED light. A green light indicates that your earbuds are fully charged, while a red one means that the battery is low. When the case is open, the light will stay on for eight seconds.
To see how long it will take to fully charge your AirPods, you can use a handy widget. To add it to your home screen, follow the directions in the iPhone User Guide.
Another tip is to use a Qi-certified wireless charging pad. This is the same type of wireless charger that is used to charge your iPhone.
In addition to the Qi-certified pad, you can also use a MagSafe charger to charge your AirPods Pro. With this charger, you can also get 24 hours of talk time and 30 hours of listening time.
Finally, don’t forget to enable the Optimized Battery Charging feature. You might not notice any benefit in doing so, but it does improve the battery’s lifespan. That’s because it will stop your AirPods from overcharging.
The AirPods Pro can be charged with a Lightning cable or a MagSafe charger. However, you can’t get the quick-charge option without the case. Once you have it, you can charge your earbuds while someone else gets a cup of coffee.
These tips are for all AirPods. If you’re using the new model, the iPhone will display the AirPods’ charging status.
Optimized Battery Charging
The optimized battery charging feature on Apple AirPods Pro is available to users who update their devices to iOS 14.2 or later. This feature increases the lifespan of your AirPods and protects your battery from damage.
Optimized battery charging works by allowing the iOS device to learn your normal daily charging routine. It also prevents your AirPods from charging to 100% before you need them. Instead, they only charge to 80 percent.
Optimized battery charging is available on iOS, Mac, and the Apple Watch. If you use AirPods, you can turn it on or off by going into Settings > Bluetooth. Alternatively, you can disable it permanently.
If you want to use the feature, you will need an iPhone or iPad running iOS 14.2 or later. To enable it, you need to allow some location services to be turned on. However, the setting is global, so you will not have to do this on each Apple device.
You can turn off the optimized battery charging feature on an AirPod by going into Settings, selecting Bluetooth, and then disabling it. You can also turn it off for a period of time, like an entire day. But you should not do this for an extended period of time.
In order to turn it on again, you will need to go into More Info. Once you have completed a full charge, you will need to enable the setting again. Afterwards, you can check the status of your AirPods and see if they are charging.
The optimized battery charging feature can reduce the time it takes to charge your AirPods to 80%. While this is not a bug, it may not be useful to you when you’re in a hurry. And if you use your AirPods for a long period of time, you should take them out of their charging case, as that can contribute to additional stress on the battery.
When you have the Optimized Battery Charging setting on, you will need to disconnect the charging case, close the lid, and then reconnect it. Otherwise, it will not work.
Loss of battery life over time
If you’ve purchased the Apple AirPods, you may have noticed a decrease in battery life over time. While there are no hard and fast rules, there are some things you can do to help lengthen your AirPods’ life span.
Keeping your AirPods in a charging case helps preserve their battery life. Although the charging case has a limited capacity, it does keep the buds charged for a few hours.
When you’re not using your AirPods, you should always be returning them to the charging case. This will extend their battery life and keep them from getting damaged. The charging case can also protect your buds from the elements.
Other factors that affect AirPods battery life include frequency of use and temperature. Batteries are designed to perform better in cooler temperatures. Wearing your AirPods in hot or humid climates can harm them.
Optimized Battery Charging, introduced with iOS 14.2, optimizes charging. This function allows your iPhone to learn when you’re charging your earbuds and charge them to 80 percent of their maximum capacity.
However, optimizing the battery charging function only works if you use your iPhone with the proper software. You can check for software updates on your device by opening the Settings app. To activate Optimized Battery Charging, you’ll need an iPhone that is running iOS 14.2 or later.
For more details on the features mentioned above, visit the AirPods replacement page on Apple’s website. A Podswap program is available for US customers. It’s available for the AirPod and AirPod Pro.
Some users say that the charging case is responsible for a 40 percent drain over time. While this might seem harmless, it’s actually a serious problem. If the case is under 80 percent, you can send it in for battery service.
If you do experience a decrease in battery life over time, a total reset can be your best bet. Just follow these steps and you’ll be back on your way. Until then, enjoy your new wireless earbuds. Remember to take care of your AirPods and you’ll be listening for years to come.Light up blue and red?
AirPods Pro and first generation cases have LED status lights.
The LED will flash green and white, but there are two different colors that indicate whether the case is charging or not.
The first color indicates that the earbuds are fully charged, and the second indicates that there is a problem with the earbuds. However, there are certain scenarios where the LED will not flash. If the LED does not blink, you can try resetting the device to factory defaults. It may be time to contact Apple customer support.
When the AirPods light is not green or blue, the LED will either flash amber or red. This is because the AirPods case needs to be charged. You can connect the case to a wall charger or a computer with a Micro-USB cable.
After connecting your case to a wireless charger, the LED will change to Green. The LED will stay on for eight seconds when it is charging. In the end, the light will be turned off.
If you do not want to disconnect your AirPods from other devices, you can disconnect them by pressing the button at the back of the case. Once you have disconnected all of your connected devices, you can press the button again to reconnect them.
Regardless of the situation, you should wait at least 25 seconds before you open the case. The AirPods will be charged after that period of time. If you have a second generation case, you can open it to check the status light.
When your AirPods Pro and AirPods with a wired charging case are fully charged, the LED will show a green light. However, you will have to connect the case to a wall charger or power bank.
AirPods are a complicated device. If you are having trouble with the LED, you can try resetting the device by holding down the setup button for 2 seconds. Or you can forget the AirPods in the Bluetooth settings.
Alternatively, you can send the AirPods to Apple for replacement. But if your AirPods keep on flashing orange, you will need to have them repaired.